To add a generated HTML signature please take the following steps:
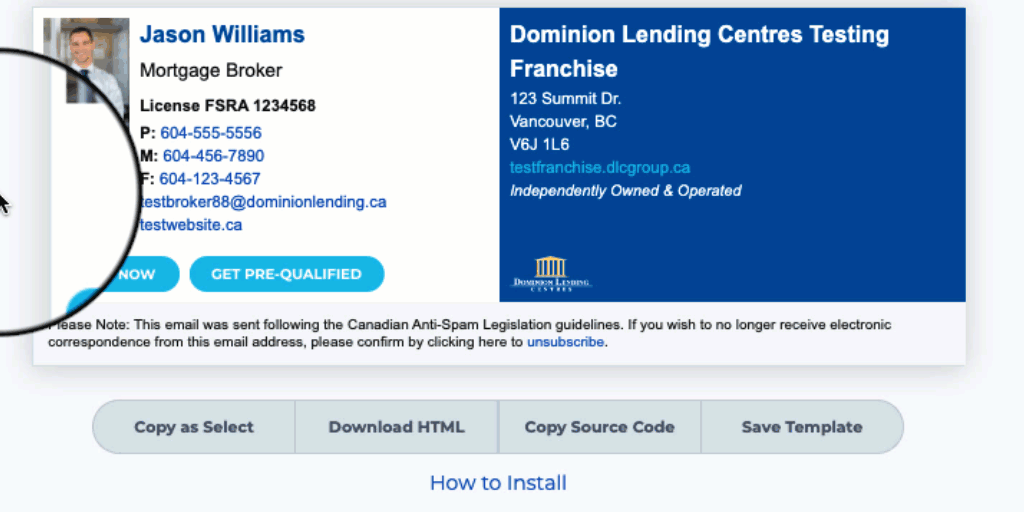
- STEP 1: Click Copy as Select button on the email signature tool to store a copy of your email signature.
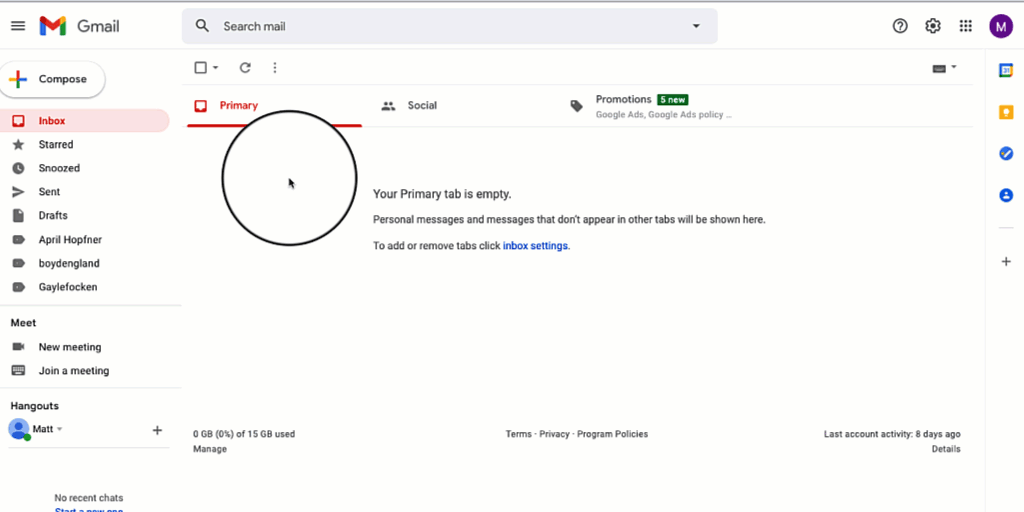
- STEP 2: Login to your Gmail account via your browser (Ex. Chrome, Firefox, Edge, etc...) to view the email client's dashboard.
- STEP 3: Once logged in to Gmail, click the Cog (top right), to view settings and select See All Settings menu item from the dropdown menu.
- STEP 4: In the Settings page, scroll down towards the bottom of the page to the Signature section and click the + Create New option. Type in an email signature name and click Create button.

- STEP 5: Paste your email signature into the Signature field by pressing Command + V. Select your new email signature as the new send email and reply/forward signature.

Please Note: There are height restrictions in Gmail when pasting an email signature. We recommend having your email signature as compact as possible for Gmail signatures. This means to refrain from using banner images or confidentiality messages. - STEP 6: Scroll down to the bottom of the page and click Save Changes.
- STEP 7: Compose a new email or reply to an email. Your email signature should be automatically inserted into your emails.
You are now set up and ready to go!
If you face any issues during your signature set up regarding signature not displaying, links not working or the signature is appearing distorted, please follow this troubleshooting guide.